
Virtual field trips with 360-degree videos
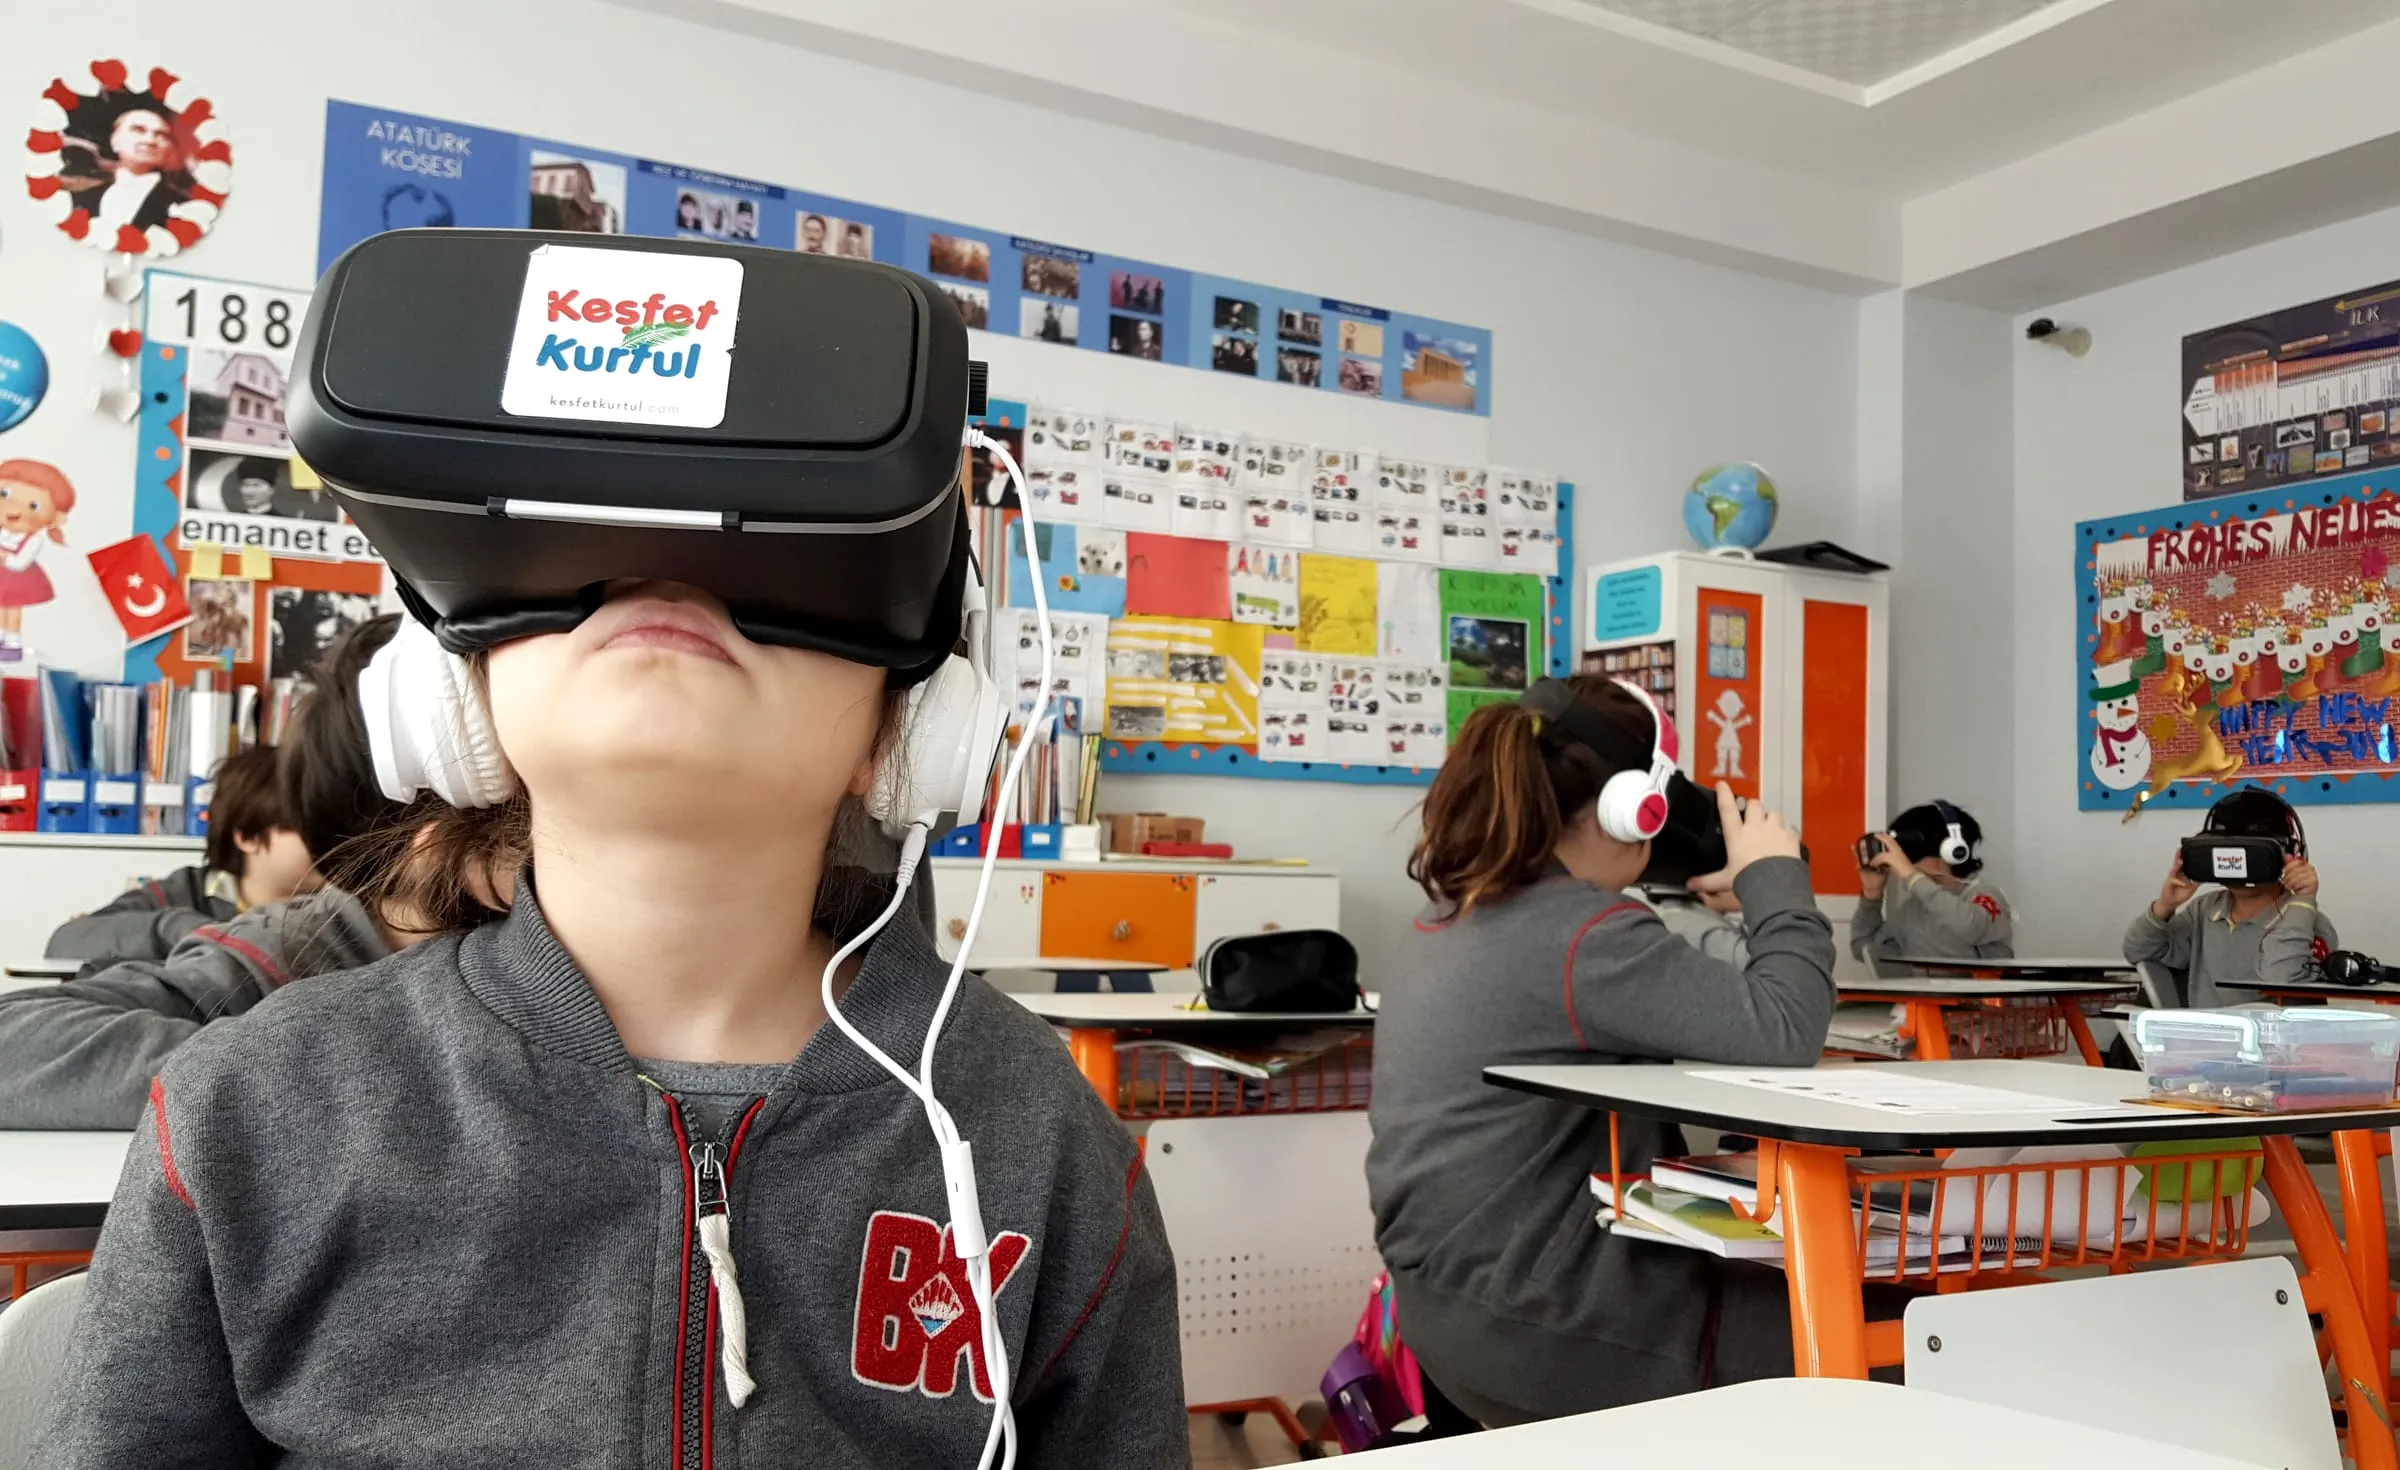
School trips are among the most vivid memories many of us keep from our student years. But you cannot go everywhere. Once you factor in budgets, permission slips, transport and safety, the number of trips a teacher can run in a year is quite limited. And some places are out of reach for any school trip: the inside of a coral reef, the International Space Station, a rainforest on the other side of the world. This is where 360-degree videos open a valuable door for your class. In this post I want to share how I would plan a virtual field trip like that.
A 360-degree video is recorded with cameras that capture every direction of a place at once. As viewers turn their head or move the tablet, they see different parts of the scene. You can watch these videos in a virtual reality headset, or on a tablet, phone or computer screen. With a headset the sense of being there is much stronger. On a screen, students can look together and talk about what they see. Both have a place in the classroom.
I also want to make one distinction clear. A 360-degree video is not a fully interactive virtual reality experience. Students cannot walk freely through the space or touch objects. They look from wherever the camera was placed. That may sound like a limitation, but it brings some advantages in a classroom. It is easy to prepare and use, the controls do not tire students out, and you can show the same content to the whole class at once.
Before the trip
A good virtual trip is planned like a real one, and the first step is being clear about why you are going. The answer to “What will students be able to do after this trip?” decides which video you pick, how long you show it and what you talk about beforehand. If your goal is for students to recognise the living things in a coastal ecosystem, for example, you need a video in which those creatures are clearly visible, not simply the most impressive ocean video you can find.
Always watch the video yourself from start to finish. Some 360 content is promotional, and some may include parts that are not suitable for children. Watch out for videos where the camera moves, too. Drone footage, fast travel or shaky shots can easily cause dizziness, especially in a headset. Videos shot with a fixed or very slowly moving camera are far better for class. Check the language, whether any narration suits the age group, and the image quality. A low-resolution 360 video looks blurry and tiring inside a headset.
Do not leave the technical preparation for the day of the lesson. Download the videos to the devices in advance rather than relying on the internet connection. If you are using headsets, check the battery, the lenses and the sound settings. Losing the first fifteen minutes of a lesson to device problems weakens even a well-planned activity.
Prepare the students as well. Talk briefly about the place you are going to, show it on a map, and ask what they already know and what they wonder about. Writing the questions from that conversation on the board gives students a purpose during the trip. A simple trip card or observation sheet helps a lot too. It might ask short questions such as “Name three living things you can see around you”, “What do you think the climate is like here?” or “What surprised you most?” That way students stop just watching the video and start looking for something.
If students will use headsets, I suggest a short practice run. A student putting on a headset for the first time spends the first few minutes simply looking around. A two-minute trial video gets much of that excitement out of the way before the trip, and makes it easier for them to focus on the content during the real thing.
During and after the trip
During the trip your role is much like a guide’s. If the whole class is watching the same video at the same time, you can pause at certain points and draw attention to a detail. Prompts like “Now turn to your right. What can you see on that branch?” stop students from missing something important in a 360-degree scene. Students in headsets cannot see where you are pointing, so you need to say directions aloud and clearly.
If you have fewer headsets than students, a station rotation works well. While one group takes the trip in headsets, other groups work on related tasks: finding the place on a map, reading a short text, or guessing the answers to the questions on the observation sheet. Groups switch at set intervals. This keeps each student’s time in the headset short, which is good for comfort.
Keep the trip itself short. A few well-chosen short clips work much better than one long video, both for attention and for comfort. Make sure students are seated while wearing headsets and that there is nothing around them to bump into. Tell them at the start that anyone who feels unwell can take the headset off straight away, and that this is perfectly normal.
The most important part of the trip actually begins once the headsets come off. Students have seen a new place and gathered lots of impressions. If you do not help them organise those impressions, all that remains is a vague feeling of “that was cool”. Right after the trip, give students time to finish their observation sheets. Then return to the questions you wrote on the board at the start. Which ones did they answer, which are still open, and what new questions came up?
There are plenty of options for follow-up activities. Students could write a postcard to a friend describing the place, draw a map of it, make a table comparing it with where they live, or give a short group presentation. In science they could classify the living things they saw; in social studies they could discuss the daily life of the people who live there. What matters is that the virtual trip is a central part of the lesson, not a treat handed out at the end.
A virtual trip does not fully replace a real one. It cannot give students the wind, the smells or the warmth of the ground. But it is a powerful tool for a short visit to places you could never go, for preparing for a real trip, or for revisiting a place after a real trip. Filming a short clip around your own school with a 360 camera and sharing it with another school can also become a lovely project in which students are both makers and viewers.
Keep your first virtual trip small: one video, a clear goal, short preparation and a good conversation afterwards. Once that foundation is in place, you can make your trips as rich as you like.
See you soon.