
Bringing printed materials to life with augmented reality
Paper is still the most common teaching material in our classrooms. Textbooks, worksheets, posters and cards are in students’ hands every day. Augmented reality offers a way to enrich these materials rather than replace them. Point a tablet’s camera at a book page and a drawing can become a 3D model, a photo can become a short video, and a line of music notation can become a melody you can actually hear. In this post I want to explain how bringing printed materials to life with AR works, and what I suggest you pay attention to when designing such materials.
Most AR-enhanced printed materials work on the same basic logic. The app recognises a predefined image, called a marker or target, in what the camera sees, and places digital content on top of it. The marker can be a drawing on the page, a photograph or a specially designed pattern. When the student turns the book or moves the tablet closer, the digital content moves with the page, which makes it look as if it really is part of the page.
There is also a simpler method: using a QR code on the page to send students to a video, an audio clip or an interactive resource. Strictly speaking this is not augmented reality, because the content opens on a separate screen rather than on top of the page. But it is very easy to prepare and works perfectly well in many cases. Which method you choose depends on how tightly the content needs to be tied to the page.
AR adds the most to print where paper is naturally limited. Three dimensions is one of those places. Showing the structure of a molecule, the chambers of a heart or the net of a geometric solid on paper is hard. When students can see the same structure from every angle by turning their tablet, the concept becomes much more concrete. Movement is another. On paper, how a machine works, how a plant grows or how the water cycle runs is explained with arrows. With AR, students can watch it actually move. Sound is the third important area. The pronunciation of a word in a language textbook, the piece of music in a music book, or the sound an animal makes are all things paper can never give you.
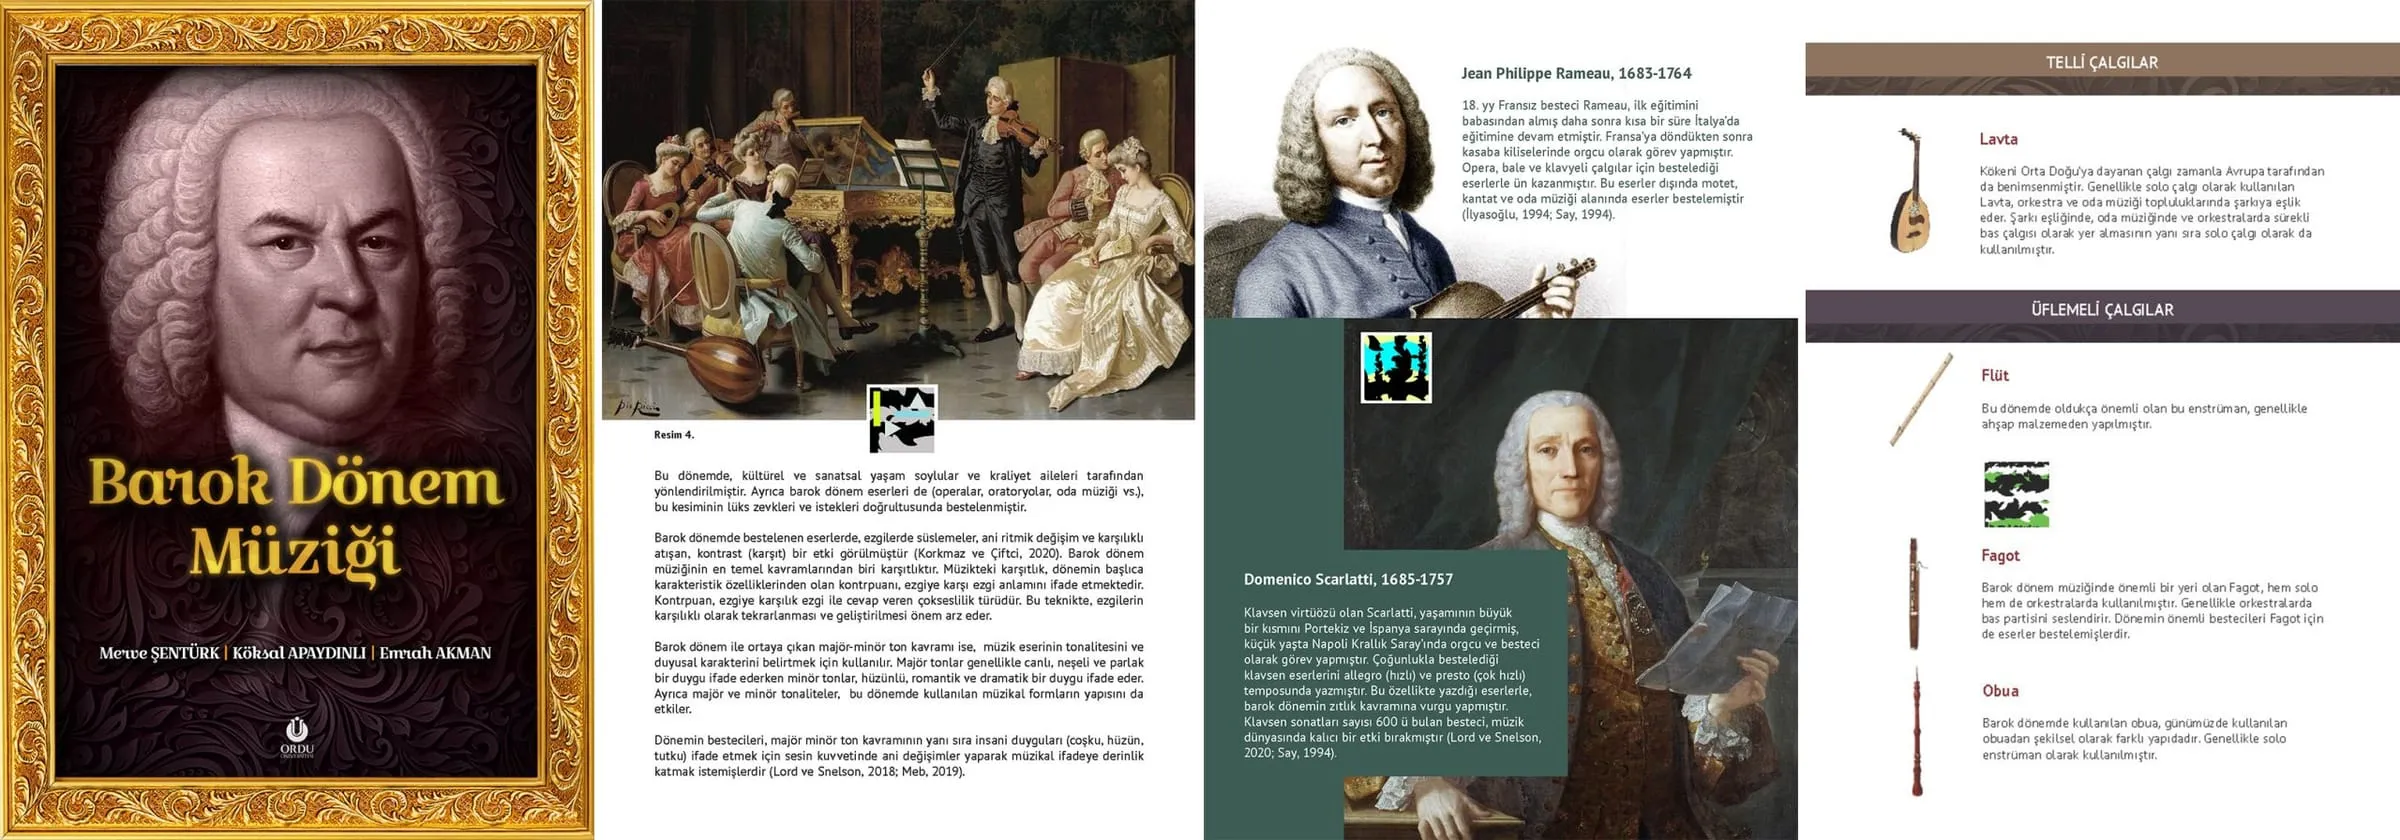
Music is an especially good fit for augmented reality in this respect. Barok AR, which I developed for music lessons, is one such augmented reality application. In music education students need to hear as much as they need to see, and printed material can only meet half of that need. AR is a natural way to add the missing layer on top of the page.
Designing a good AR material
As always, start the design with the learning goal. It is tempting to add AR content to every image on the page, but that tires students out and weakens the effect of AR. Ask yourself: what will students find hardest to understand on this page, and how can augmented reality make that easier? Only add AR content where that question has a clear answer.
The printed material should make sense on its own, without AR. I care about this principle a lot. A tablet will not always be at hand, an app might stop working after an update, and a student might not have access at home. The page should teach on its own, and AR should add a layer on top. A design students cannot follow without AR makes the material fragile.
Keep the link between digital content and the page strong. Research on multimedia learning shows that presenting related text and images close together supports learning. That is easy to do in AR, since the digital model appears right next to the relevant text. But piling long explanations on top of the model, or reading the page’s text aloud word for word, needlessly adds to students’ cognitive load. The model should complement the text on the page, not repeat it.
The choice of marker images matters a lot technically. Apps recognise detailed, high-contrast images without repeating patterns much more easily. A plain silhouette, a flat block of colour or a symmetrical pattern usually makes a poor marker. Print quality matters too. Glossy paper can reflect classroom lights and make recognition harder, while matte paper usually works better. Before you make copies, test the material under real classroom lighting, with the school’s own tablets, and on a photocopied version. Remember that a marker designed in colour may not be recognised on a black-and-white photocopy.
Make it easy for students to notice the AR content. A small, consistent icon showing which part of the page comes to life saves students from scanning every corner of the book with the tablet. Adding a short instruction next to the icon is a good idea as well: “Hold the tablet over the page and turn the model to see inside the heart.” That way students know what to do and what to look for.
Using it in class
AR-enhanced materials suit group work very well. When two or three students share a tablet, they examine the model together, show each other things and discuss what they see. Giving roles helps too. One student holds the tablet, another reads the questions on the page, and a third notes down observations. Roles rotate at set intervals.
Make the AR content part of an activity. When students only watch the model, interest fades once the first few seconds of amazement pass. Instead, prepare questions that can only be answered by looking at the model. Questions like “Which chamber of the heart has the thicker wall?” or “How many faces does this solid have?” lead students to examine the model carefully. Having them write the answers on paper also strengthens the link between the digital and the printed.
Making your own material may be easier than you think. There are now tools that let you define a marker and attach a model, video or audio to it without any coding. For your first attempt, pick a single page, add a single piece of AR content and try it with your class. Watch where students struggle and what catches their interest, then design the next page based on what you saw.
Having students make AR materials themselves is also a valuable activity. Students who prepare a poster on a topic and attach their own recorded explanation or a short video to part of it engage more deeply with the topic, and they have to think about how to present what they know.
When the bridge between paper and digital is built well, students get the best of both. The focus, note-taking and tangibility of paper come together with the movement, sound and three dimensions of digital content.
See you soon.