
How to plan your first virtual reality lesson
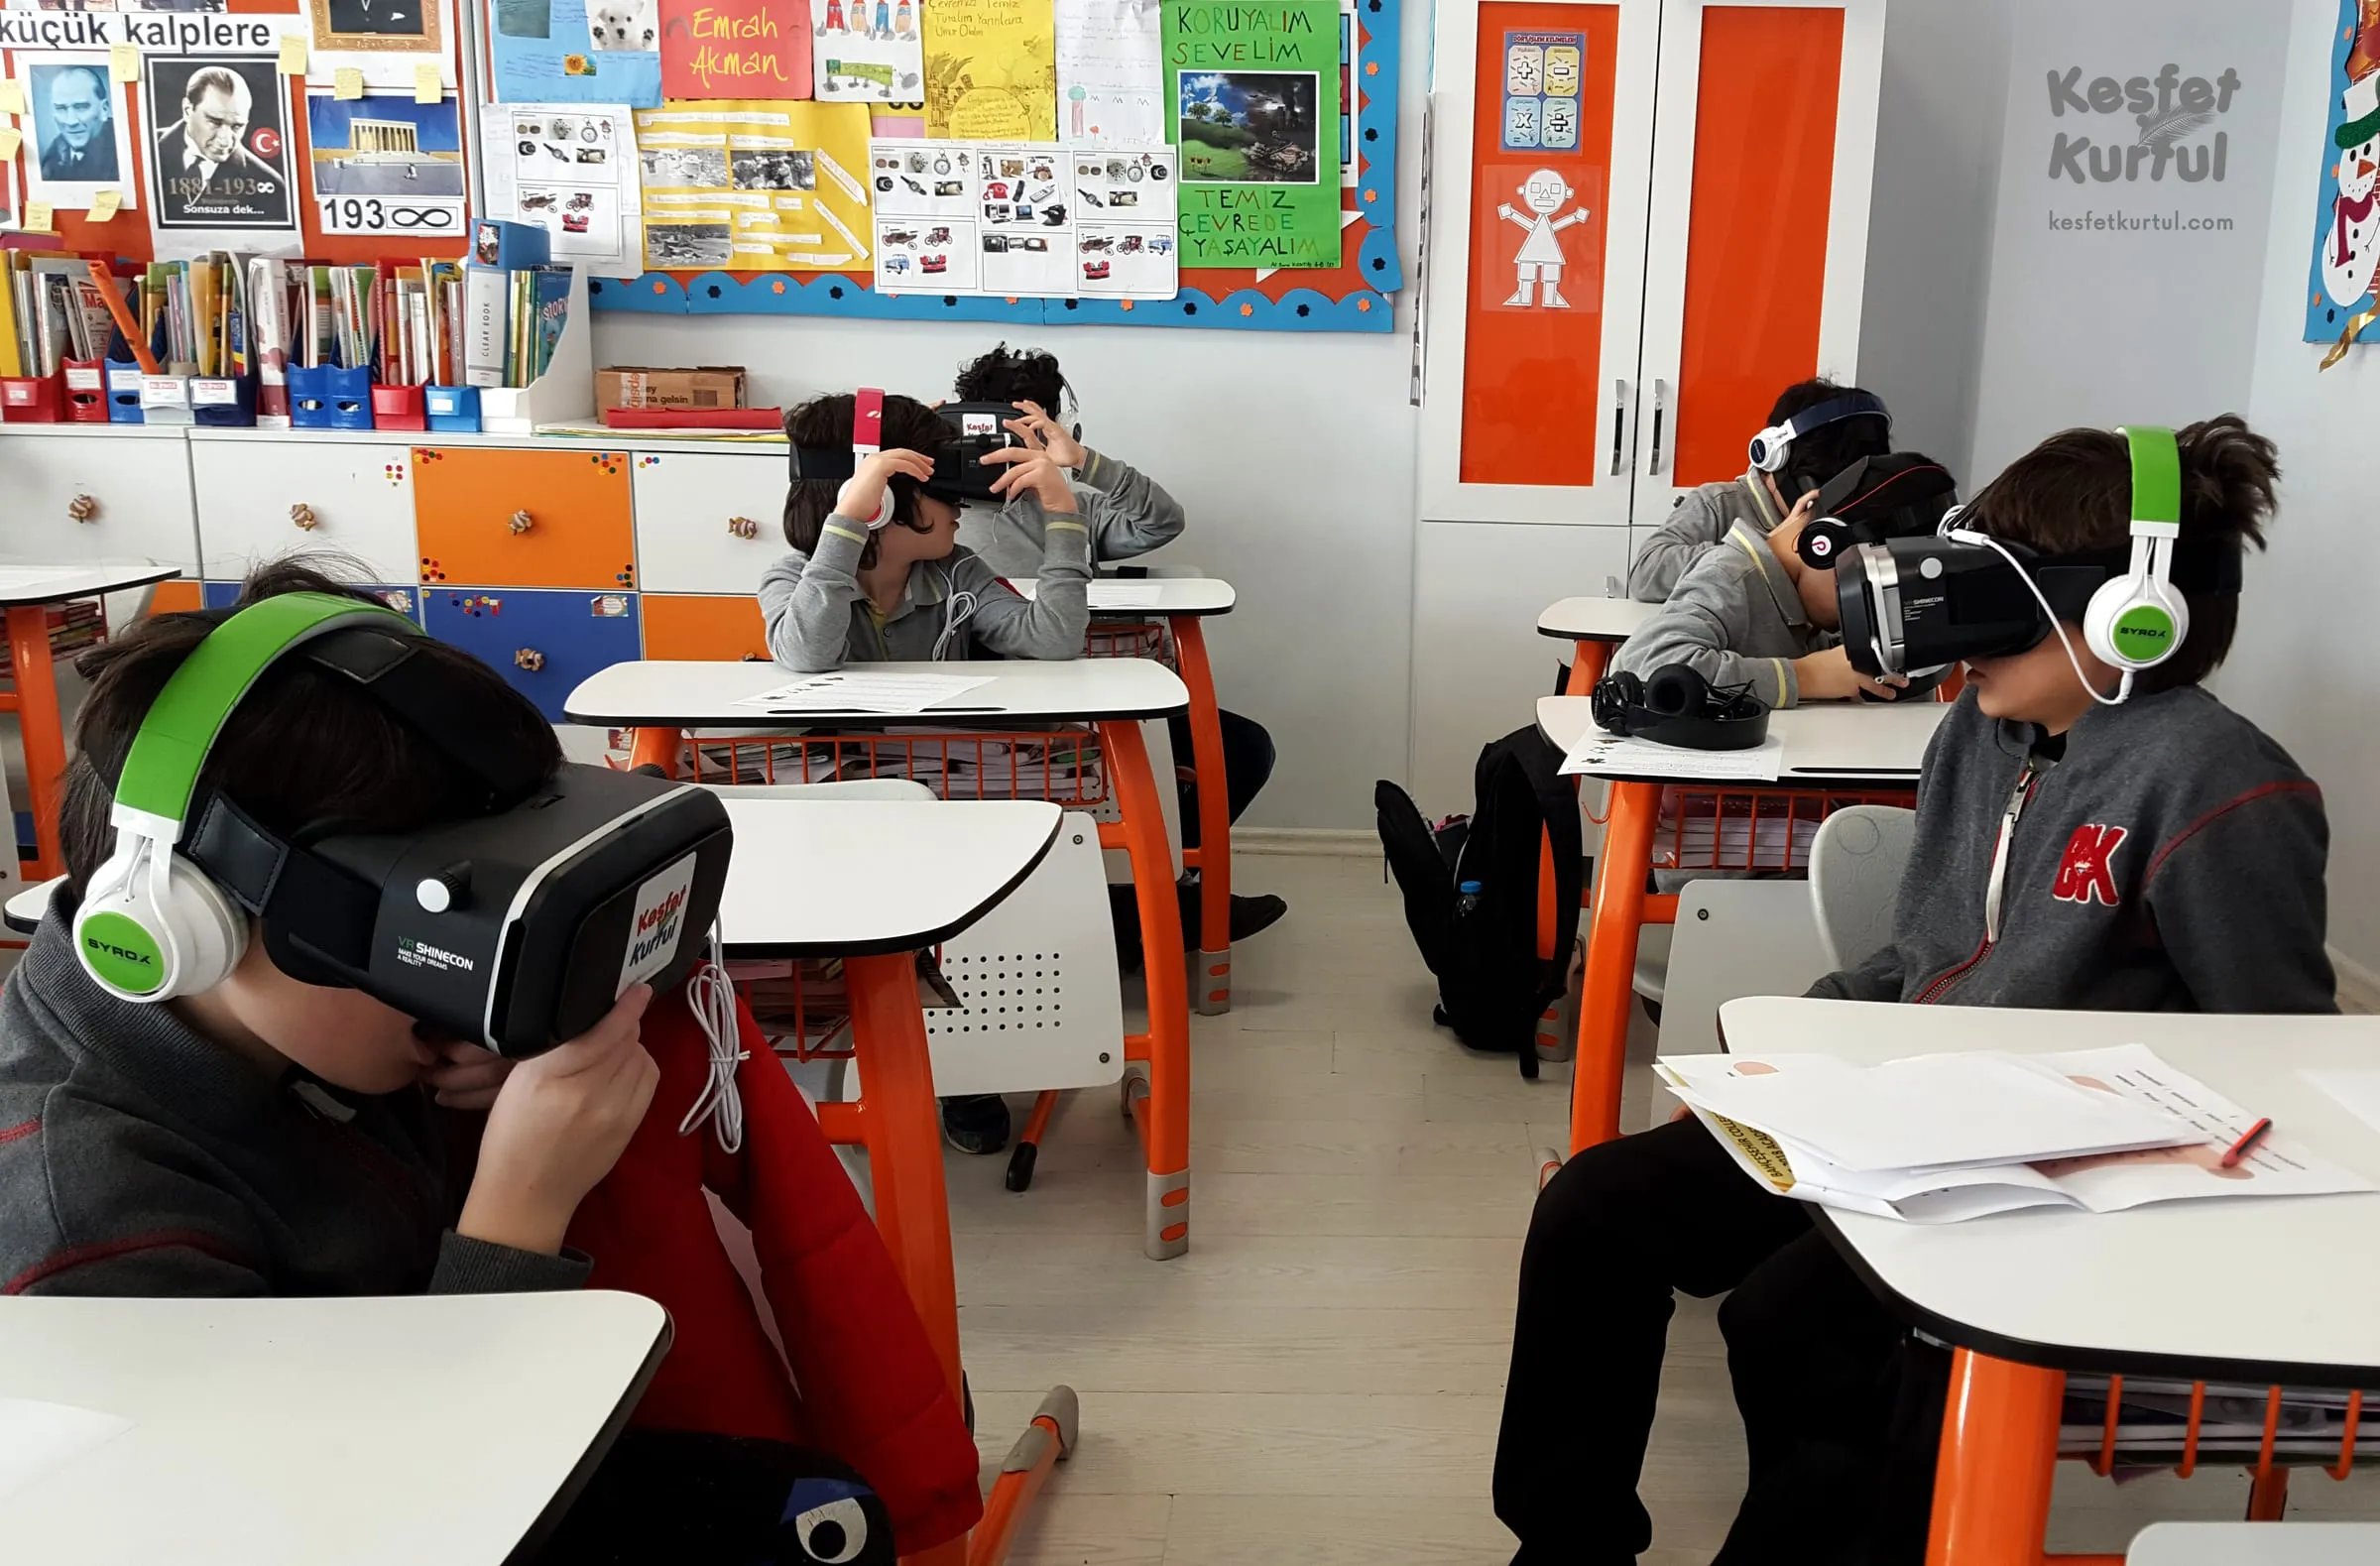
When VR headsets arrive at a school, most teachers feel the same mix of excitement and slight unease. Taking the headsets out of their boxes is easy. Running a productive lesson with them in a class of thirty is another matter. In the trainings we run with teachers, I often see that a first VR lesson gets difficult not because of a technical problem but because of gaps in planning. In this post I want to walk you through one way to plan your first virtual reality lesson, following the flow of a lesson plan.
Start with the learning outcome, not the headset. That principle applies to all instructional design, but it matters even more with VR, because the wow factor of the technology tends to push the goal aside. Ask yourself: what does the VR experience offer students on this topic that I could not easily provide with another tool? If the answer is unclear, VR may not be the right tool for that topic. If the answer is something concrete, like “students stand in a volcano’s crater and see its layers with their own eyes”, you are on the right track.
For a first lesson, I suggest a small, clear goal. Instead of trying to teach a whole unit in VR, use virtual reality to enrich one part of the lesson. If you are teaching the solar system in science, for example, the goal might be “students compare the sizes of the planets”. The VR experience becomes a short segment that makes that comparison tangible, and the rest of the lesson continues with methods you already know.
Once the goal is set, choose the app or content and try it yourself from start to finish. What is the first thing students see when they put on the headset? Where do they need to look? Which controls will they use? How many minutes does it take? While trying it, put yourself in a student’s shoes and note every point that confuses you. Those notes will become the basis of the instructions you give in class.
The flow of the lesson
It helps to think of a VR lesson in three parts: before the headset, during the headset and after the headset. The flow I suggest for first lessons looks roughly like this:
- Introduction and curiosity: check what students already know and tell them what to look for in the VR experience.
- A short practice: show how to put on and adjust the headset and how the basic controls work.
- The VR experience: a short session with a clear task.
- After-headset activity: sharing observations, discussion and a small product.
- Assessment: a short activity that checks whether the goal was reached.
Giving students a task in the introduction is crucial. Instead of “Let’s put the headsets on and see what we find”, a concrete task such as “When you stand next to Jupiter, notice how small Earth looks” points their attention in the right direction. Write the task on the board and remind them once more just before the headsets go on.
Do not skip the practice part. For a student wearing a headset for the first time, the device itself is something to learn. Small things like adjusting the straps, getting the image sharp, holding the controller or selecting by gaze prevent questions that would otherwise come up again and again during the lesson. Picking a volunteer and going through the steps together at the front of the class works well here.
Keep the VR experience itself short, and remember that it is not the whole lesson. The after-headset part should take at least as long as the experience. Let students describe what they saw, compare their observations and produce something small that connects those observations to the lesson. That could be a drawing, a short piece of writing, a table or a concept map. For assessment, go back to the goal you set at the start. Can they put the planets in order of size?
Managing a class with headsets
If you do not have a headset for every student, and most schools do not, a station rotation is the most useful approach. Split the class into groups. While one group is at the VR station, the others work on related activities, and groups rotate at set intervals. Nobody sits idle, and each student’s time in the headset naturally stays short. The activities at the other stations need to work without your help, because most of your attention will be on the VR station.
Talk through the class rules before the lesson starts. Students wearing a headset stay in their seats. When the teacher says “headsets up”, everyone lifts their headset onto their forehead or takes it off. Anyone who feels unwell takes the headset off immediately, and nobody is judged for it. You can also agree on a signal, such as a light tap on the shoulder, for getting the attention of a student in a headset. Keeping the rules few and clear makes them easier to remember.
Give every student in a headset a “spotter”. The spotter keeps their classmate inside the safe area, calls the teacher if needed, and they swap roles when it is the spotter’s turn. This simple routine improves safety and gives waiting students a meaningful job.
If you can mirror the headset view to the board or a screen, use it. The rest of the class can follow what one student is seeing, and you can more easily show a student who is stuck where to look. Without mirroring, your spoken directions become even more important.
Always have a plan B for technical hiccups. A headset can run out of battery, an app can freeze, the internet can drop. Bring the headsets fully charged, load the content in advance and have the app open and ready. If something goes wrong, an on-screen version of the same content or a short video will save your lesson. That equivalent activity should also be ready for students who cannot or do not want to use a headset.
Set aside time after the lesson to collect and clean the headsets. Wiping the surfaces that touch the face, cleaning the lenses with a dry microfibre cloth and putting the headsets on charge mean the next lesson starts smoothly. Rotating these jobs among students also teaches them to take responsibility for the devices.
After the first lesson, do a quick review. What went well, where did students get stuck, which part took longer than you expected? These notes will make your second lesson much easier. As with any new tool, after a few lessons both you and your class will settle into the routine. Your first lesson does not have to be perfect. It just needs to be a good start for you and your students as you get used to a new tool.
See you soon.