
The difference between augmented reality and virtual reality
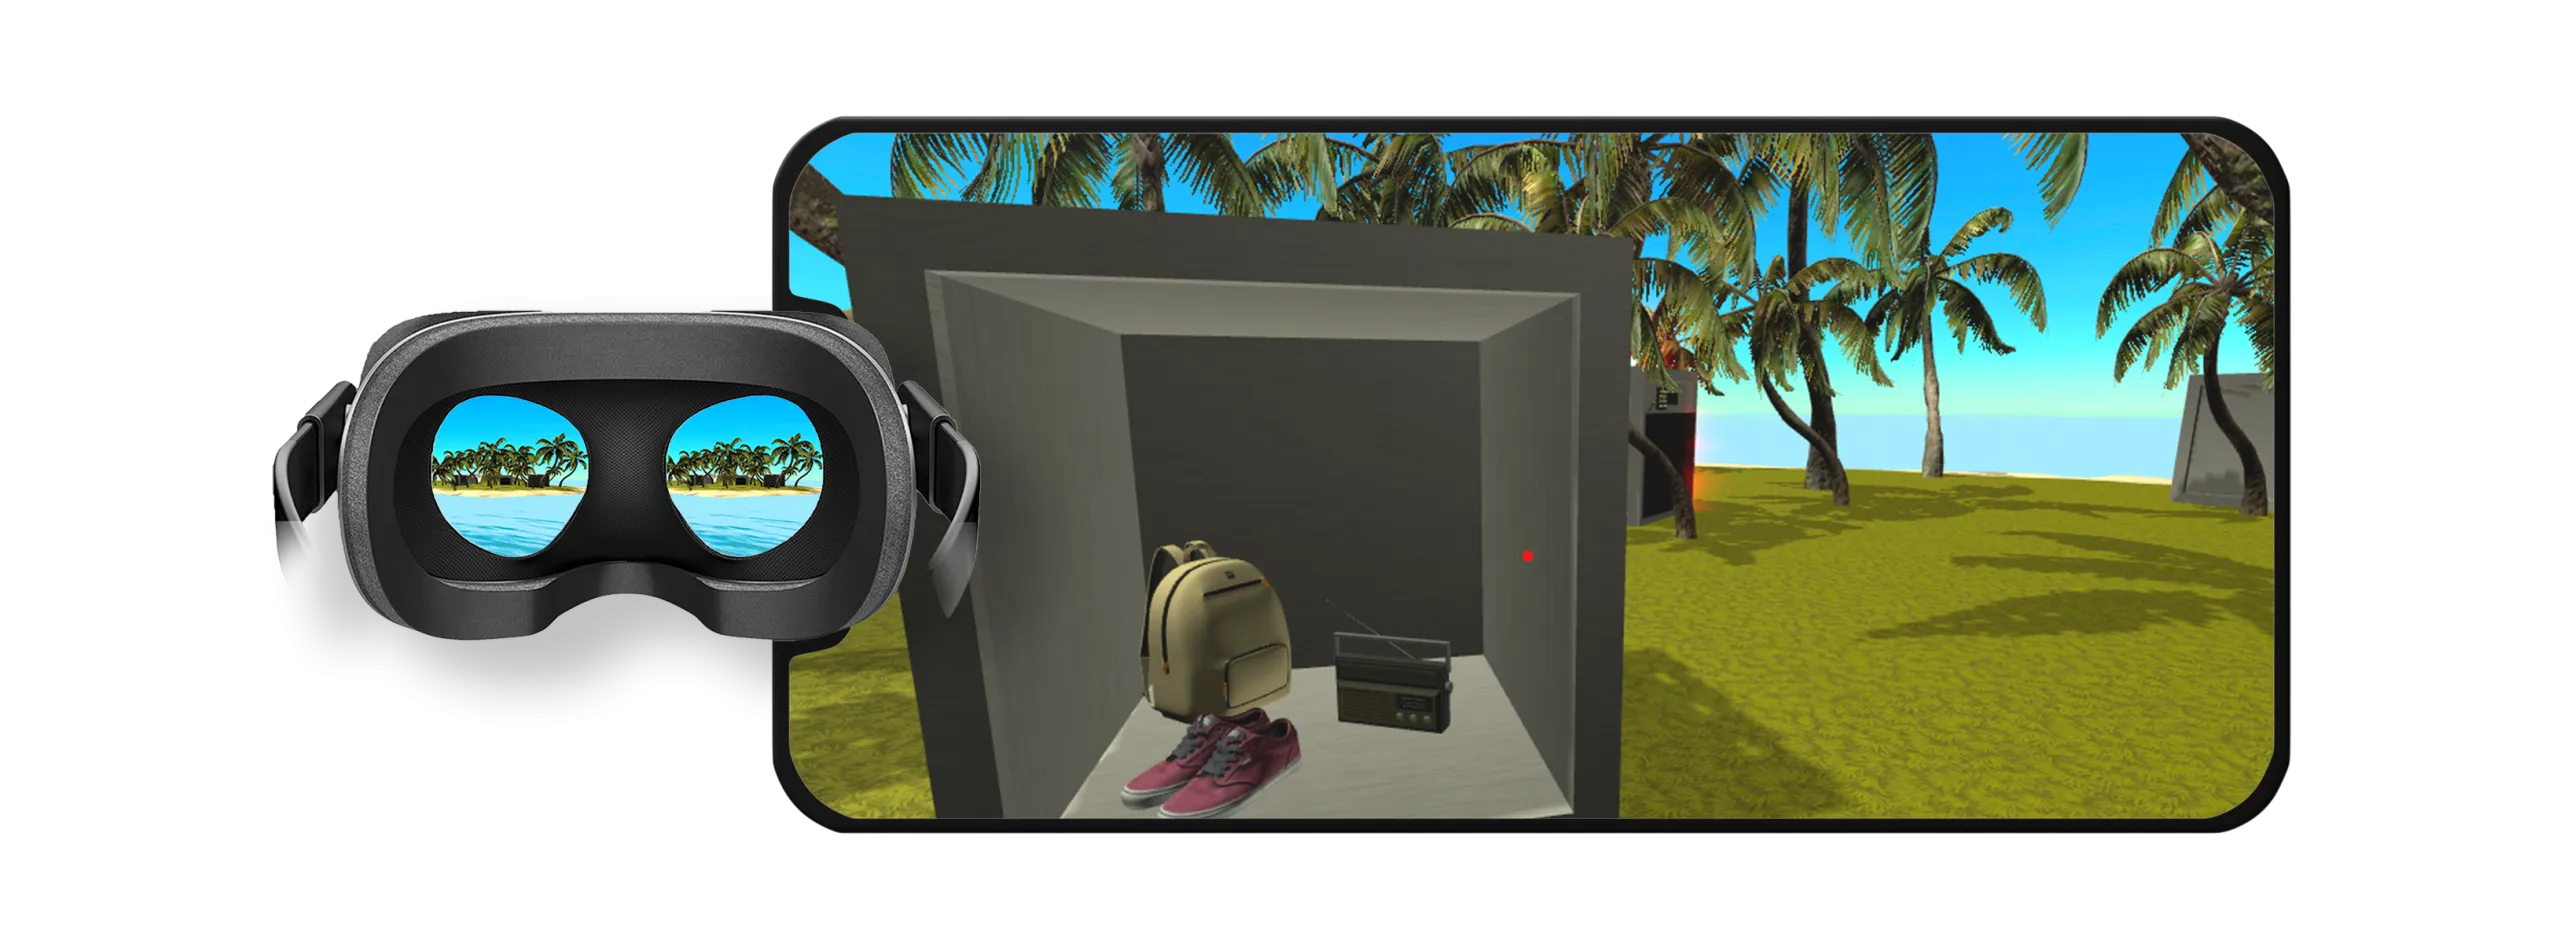
In almost every teacher training I run, someone asks: “Which is better, AR or VR?” The question always reminds me a little of asking whether a pen is better than a ruler. Both are useful, but for different things. In this post I want to explain the difference between the two technologies in plain terms and share my suggestions on when each one fits a classroom.
Virtual reality takes the user out of their physical surroundings and places them in an environment generated entirely by a computer. Once you put the headset on, you no longer see the classroom, the desks or your classmates. When you turn your head, you might be looking at the inside of a volcano’s crater, the membrane of a cell, or the streets of a city that fell centuries ago. That is exactly where VR is strongest: it gives the user a sense of being there, what researchers call presence.
Augmented reality does not cut the user off from the real world. Instead, it adds a digital layer on top of it. Pointing a tablet’s camera at a textbook page and seeing a three-dimensional heart beating on top of it, or walking around a model of the solar system placed on the classroom floor, are both examples of AR. The student sees the real environment and the digital objects added to it at the same time.
Between the two sits what is usually called mixed reality. Here digital objects sense the real environment and interact with it, so a virtual ball might roll across a real table and drop to the floor. Mixed reality devices are still rare in schools, so I will focus on AR and VR here. Still, it helps to think of all three as points on a single spectrum, with the fully real world at one end and a fully virtual world at the other.
The easiest way to grasp the difference is to ask where the student’s attention is. In VR, all of it is inside the virtual environment, and everything around them disappears. In AR, attention is shared between the real and the digital. While looking at a virtual model, the student can still see the classmate next to them, the teacher and the notebook on the desk. That has a direct effect on how you run the activity.
Differences in hardware and classroom setup
For virtual reality you need a headset. It may be a standalone device or a Cardboard-style viewer used with a smartphone. Either way, the student is cut off from the outside world for as long as the headset is on. That calls for a safe space, close supervision and a well-planned rotation.
For augmented reality, the tablets or smartphones your school already owns are often enough. You do not need to buy extra headsets. Two or three students can share a tablet, which makes AR a natural fit for group work. Students can examine the model on the screen together, point things out to each other and argue about what they see. VR, by contrast, is an individual experience by nature. Others cannot see what the student wearing the headset sees unless you mirror the view to a screen.
This difference shows up in classroom management too. In an AR lesson you can walk around and see directly what each group is doing. In a VR lesson your job is harder: you have to pay closer attention to notice who is in which scene and who is starting to feel uncomfortable.
AR is usually more affordable as well. If your school has a set of tablets, you could run an AR activity tomorrow. For VR you either need headsets or phones that work with low-cost viewers such as Cardboard. I would not treat that as a flaw, just as something to account for when planning.
Which one, and when?
My suggestion is to decide based on the learning goal, not the technology. Ask yourself: does the student need to be somewhere else to understand this topic, or do they need to see a real object in front of them more clearly?
If the student needs to go somewhere they cannot physically go, virtual reality is a strong choice. The deep ocean, outer space, a historical site, the inside of a factory or the inside of the human body all fall into this category. VR also shines when scale matters. Showing the real size of a dinosaur, the height of a cathedral or what it means to be inside an atom is hard on a flat screen. Inside a headset, students feel that scale with their bodies. Dangerous or expensive experiments are another good fit. Trying out a chemical reaction or a high-voltage circuit safely, and being free to make mistakes you could never make in a real lab, is valuable for learning.
If the student needs to connect with an object in the real world, augmented reality is the better fit. Animating a figure from the textbook, adding an elevation layer on top of a map, labelling the parts of a machine on the machine itself, or supporting a worksheet problem with a 3D model are the things AR does best. The aim here is not to take the student somewhere else but to enrich the place they are already in.
A few examples make this more concrete:
- To convey the sizes of and distances between the planets, use VR. To turn the planet picture in the textbook into a model students can rotate, use AR.
- To walk the streets of an ancient city, use VR. To show extra information next to a historical object in a museum or the schoolyard, use AR.
- To travel inside a cell, use VR. To examine the cell drawing from a biology notebook on the desk, use AR.
- In a music lesson, both can work for introducing instruments and the setting of a period. The choice depends on whether you want students to connect with a book or with a place.
Lesson time should shape your decision too. VR sessions should be short, and students often take turns with the headsets, so VR usually forms one part of a lesson. AR spreads across a lesson more easily. Students can pick up the tablet and put it down again, moving back and forth between their notebooks and the digital model.
Keep the age of your class in mind as well. Headset manufacturers set age limits and recommend short sessions for younger children. For this age group, AR is often a more comfortable and safer starting point. The child keeps seeing the real world, so they do not lose their bearings, and they can still see their teacher and classmates.
One last point: try not to see the two technologies as rivals. Using both within the same unit can work very well. Students might first use AR to examine a volcano model from the textbook on their desks, separating and naming its layers. Then a short VR experience can “take” them into the crater. Back in the classroom, they talk about what they saw and write it up in their notebooks. In that order, AR prepares students for what they will see in VR, and VR gives a context to the concepts they met in AR.
Whichever technology you choose, judge it not by how impressive it is but by what students can do better after the lesson. Novelty catches attention for the first few uses, but what lasts is a well-built learning activity. When you plan your next lesson, write your goal first, then pick the tool that gets you there by the shortest route. Sometimes that tool will be a VR headset, sometimes a tablet, and sometimes just a good drawing.
See you soon.