
Designing games with students: running a game design workshop in class
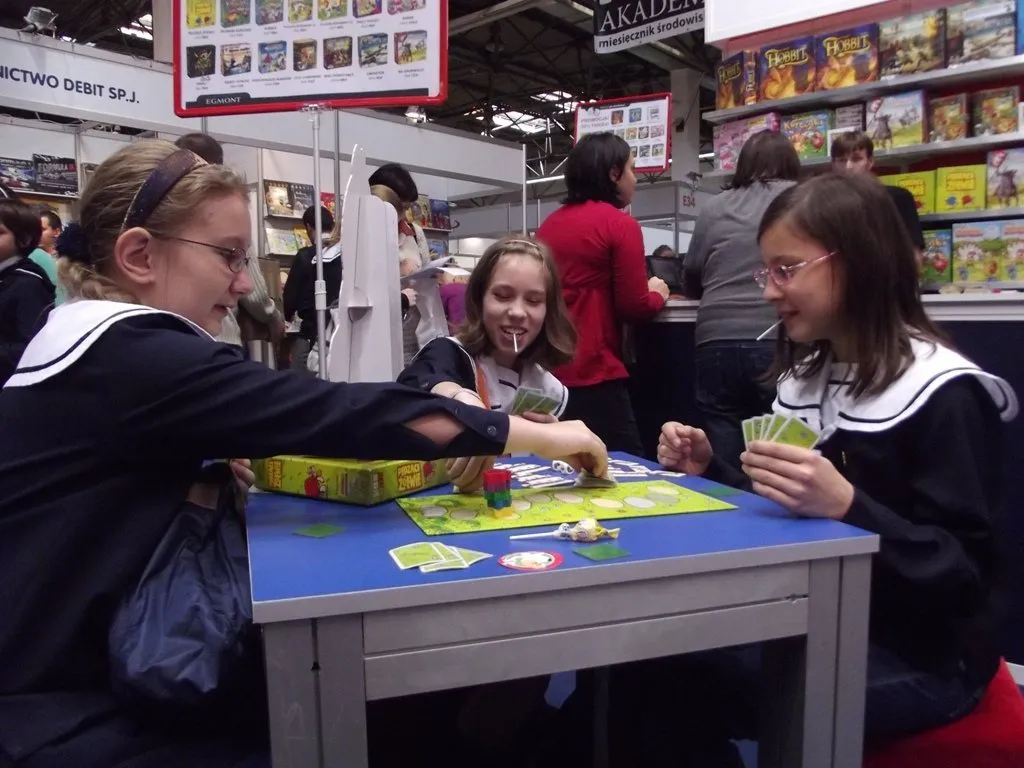
When we talk about educational games, we usually picture the student as the person playing. A game is found or developed, students play it, and they learn something along the way. Swap the roles, though, and a very different picture appears. Ask students to design a game about a topic and they have to rethink that topic through rules, goals and challenges. In this post I want to explain why designing games with students works and how a teacher can run it in class without even needing a computer.
Designing a game about a topic requires really understanding it. A student designing a game about the water cycle cannot stop at listing its stages. They have to think about why evaporation happens, which conditions lead to rain, and how moving from one stage to the next can be expressed as a rule. While writing the rules, gaps in their understanding surface on their own. A group that cannot answer “what happens when this card is played?” has not yet fully understood that part of the topic.
Game design also feeds systems thinking. A game is a small system of rules that affect one another. Change one rule and the balance of the game may break, or one strategy may become too strong. As students try to find that balance, they think about cause and effect, run small experiments and observe the results. These are the same skills science, mathematics and social studies call for.
Another important gain is collaboration and a culture of feedback. The group that designed a game has another group play it and listens to their comments. Accepting criticism of something you made yourself, and using that criticism to improve it, is an experience that is hard to teach in class but very valuable.
How can you run the workshop?
You need neither expensive software nor a computer lab for this kind of workshop. Paper prototyping, which means quickly bringing a game to life with paper, card and simple materials, is both the cheapest and the fastest method. Professional game designers often test their ideas this way too. Changing a rule on paper takes a few seconds, while making the same change in software can take hours.
The materials you need are very simple:
- Blank cards or pieces of cut card
- Dice, pawns, or small objects such as buttons or beans to use as pawns
- Large sheets of paper, coloured pens, sticky notes
- A timer
I suggest starting the workshop by looking at a simple game the students already know. It could be snakes and ladders, bingo or a card game. Talk with the students about the game’s goal, its rules, what decisions the player makes and what makes it exciting. This short analysis helps students notice that games are made of parts and that those parts can be changed. One observation tends to come up here. In games like snakes and ladders the player makes almost no decisions, everything depends on the dice. That difference prepares students to ask “what does the player decide here?” about their own games later.
Then give each group a topic from your lessons. It is important not to make it too broad. A narrower topic, such as “food chains” rather than “ecosystems” or “comparing fractions” rather than “fractions”, helps keep the game focused. The groups’ first task is to decide what the player will do in the game. At this point I recommend asking students one question again and again: “Where in the game does the player use this topic?”
Groups should build their first prototype quickly. Half an hour is usually enough for a first playable version. Students tend to spend a lot of time decorating cards and drawing colourful pictures. Tell them from the start that looks do not matter at this stage and that the game must be playable first. Visual design can come once the game has been tested a few times.
The most instructive part is testing. Each group has another group play its game. It is very valuable for the designers not to explain the rules during this time, and simply watch the game being played from the written rules alone. They see with their own eyes where players get confused, which rule they misunderstand and where they get bored. The playing group then gives short feedback and the designers revise their game. If you can repeat this cycle once or twice, you will see how quickly the games improve.
The teacher’s role and what to watch for
Throughout the workshop, the teacher’s role is less about giving answers and more about asking the right questions. Visiting groups and asking “how is this rule related to the topic?”, “what does someone who wins this game know about the topic?” or “why would a player choose this move here?” keeps the design from drifting away from the learning goal.
The most common trap is students designing quiz-style games. A board, pawns moving along it and a question to answer on every square. This kind of game feels easy to make, so it is chosen very often. But here the topic lives in the question cards, not in the game’s mechanic, and the game turns into a board drawn around a test. Rather than rejecting these designs straight away, thinking with the students about “if we removed the question cards, would the game still say something about the topic?” nudges them towards more creative solutions.
Another thing to watch is how work is divided within groups. In some groups one student runs everything while the others look on. Setting rotating roles such as rule writer, materials manager and test observer helps everyone take part.
When it comes to assessment, I suggest looking at the process more than the product. What matters is not how nice the game looks, but how the group reflected the topic in the game and which changes they made after testing, and why. Asking groups to present their game briefly at the end and complete the sentence “someone who plays our game learns this, because…” helps students notice their own learning and lets you see their understanding.
It is also important to be realistic about time. Fitting game analysis, design and testing into one lesson is hard. A workshop spread over two or three lessons goes much more smoothly. You will often find that students keep thinking about their games in between and come to the next lesson with new ideas.
Something similar happens in the trainings where we develop games with teachers. Trying to turn a topic into a game pushes even someone who has taught that topic for years to look at it again. Giving students the same experience is, in my view, one of the most powerful ways to use games in the classroom. A process that starts with paper prototypes also lays natural groundwork for students to build digital games with block-based tools later on.
See you soon.
Image: Piotr Drabik from Poland, CC BY 2.0, Wikimedia Commons.